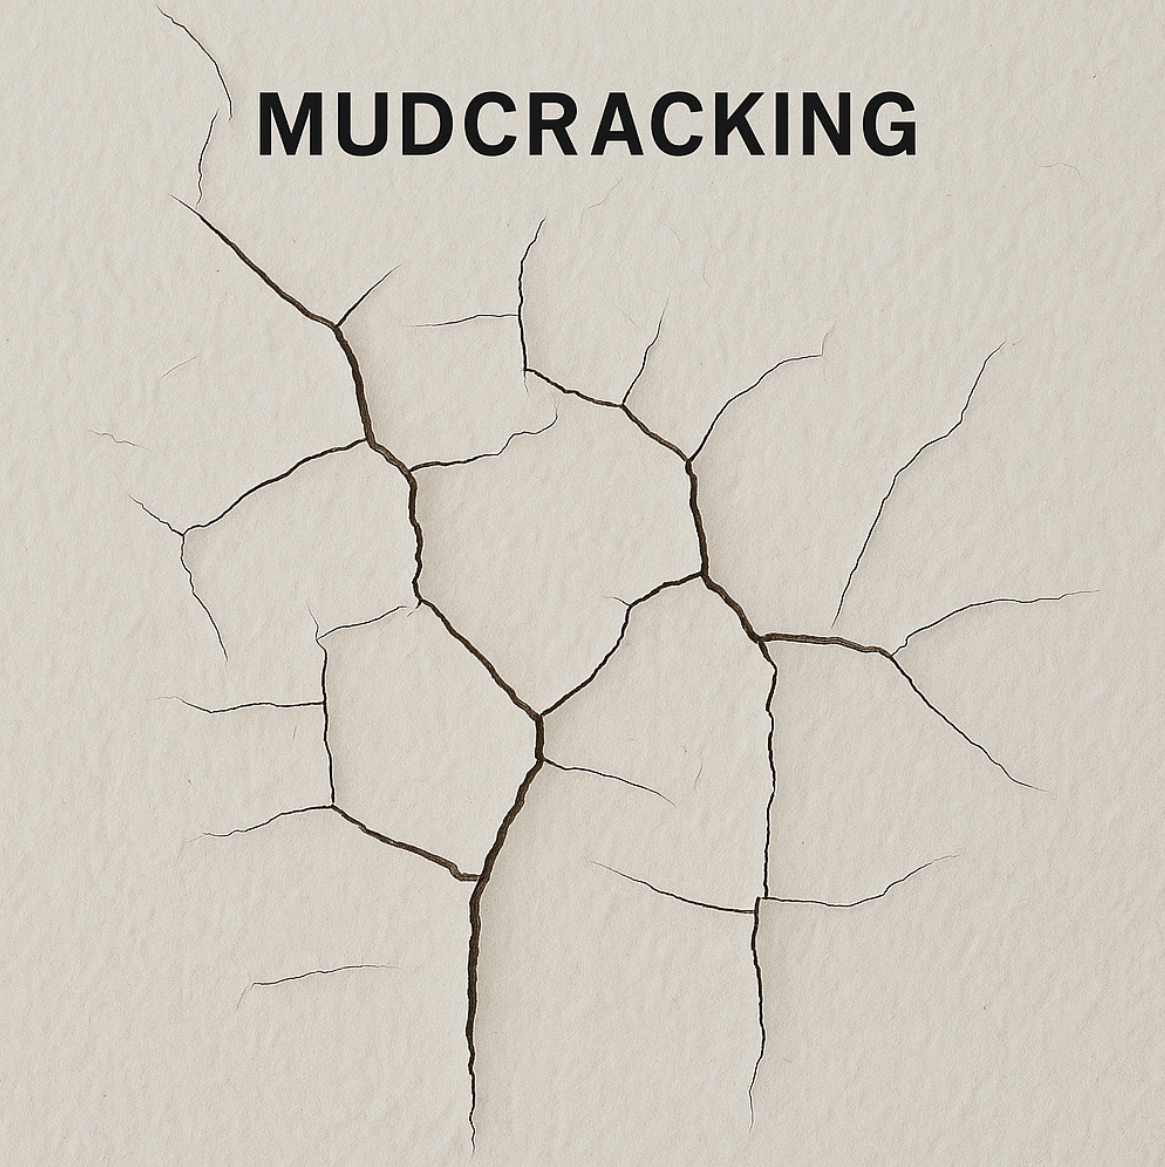
Blistering is the formation of raised bubbles or blisters on the surface of a paint film. These blisters occur when liquid (usually moisture, solvent, or air) becomes trapped under or within the coating and expands, pushing the paint film away from the surface.
How it Looks
- Paint surface develops bubbles or dome-shaped blisters.
- Can appear shortly after painting or later when exposed to heat/sunlight.
- If broken, they may expose bare substrate or undercoat.
Causes:
- Moisture trapped beneath the paint film (painting on damp surfaces, moisture seeping through walls).
- Heat causing trapped solvent or air to expand and lift the film.
- Poor adhesion due to inadequate surface preparation or incompatible undercoats.
- Painting in direct sun or on hot surfaces, causing rapid drying.
How to fix paint blistering
You’ll need
Scraper • Utility knife • 240–320 grit sandpaper • Filler/patching compound (substrate-appropriate) • Sugar soap/mild detergent & water • Clean rags/tack cloth • Primer (see Step 6) • Quality topcoat • PPE (gloves, dust mask, safety glasses)
Step 1 — Safety check
- If the home may have old paint (e.g., pre-1970s), assume lead and follow local lead-safe practices or use a pro.
- Isolate the area; wear PPE; lay drop sheets.
Step 2 — Diagnose the cause (moisture vs heat/solvent)
- Slice a blister:
- Only topcoat lifts; undercoat intact → likely heat/solvent entrapment or poor intercoat adhesion as a result of surface contamination.
- Peels to bare substrate (often damp) → moisture problem.
- If exterior, inspect flashings, joints, caulking, gutters, leaks.
- If interior (bathrooms, laundries), check ventilation/fans and plumbing.
Step 3 — Fix the source before cosmetic repair
- Moisture: repair leaks, improve drainage/caulking/ventilation; let the substrate dry completely (timber should be dry to the touch—use a moisture meter if available).
- Heat/solvent: avoid painting in direct sun or on hot surfaces; respect recoat times; don’t over-thicken/over-apply.
Step 4 — Remove failed paint
- Cut the blister edges with a sharp knife; scrape all loose/flaking film back to sound, well-adhered coating.
- Fill depressions with a suitable proprietary filler.
- Feather-sand the edges (240–320 grit) until smooth.
Step 5 — Clean & de-chalk
- Wash the area with sugar soap/detergent, rinse, and let dry.
- Wipe off dust with a tack cloth. The surface must be clean, dry, and dull.
Step 6 — Prime correctly (match to substrate & cause)
- Bare timber: quality acrylic or oil-based wood primer; use a stain-blocking primer for tannin-rich timbers.
- Masonry/render: alkali-resistant masonry primer; brush off efflorescence before priming.
- Previously moisture-affected areas: choose a breathable (vapour-permeable) system and re-seal joints/edges.
- Intercoat adhesion issue: apply a bond/undercoat primer compatible with both old and new paints.
Step 7 — Patch & sand (if needed)
- Fill divots or edges with suitable filler/patching compound.
- Let cure fully; sand smooth and dust off.
Step 8 — Repaint under good conditions
- Apply two thin, even coats of quality paint (brush/roller/spec as per manufacturer instructions).
- Observe recoat times.
- Work in shade, ideal temp cool to mild, and avoid windy/dusty conditions.
Step 9 — Seal vulnerable points
- Re-caulk gaps around trims, windows, and penetrations; seal top/bottom edges of exterior doors and boards.
Step 10 — Prevent recurrence
- Maintain gutters/flashings; keep sealants intact.
- Use exhaust fans in wet areas.
- Avoid painting hot substrates and thick coats; always follow the can’s data sheet.
When to call a pro
- Widespread blistering over large areas, recurring moisture (rising damp, hidden leaks), or lead-based paint removal.


