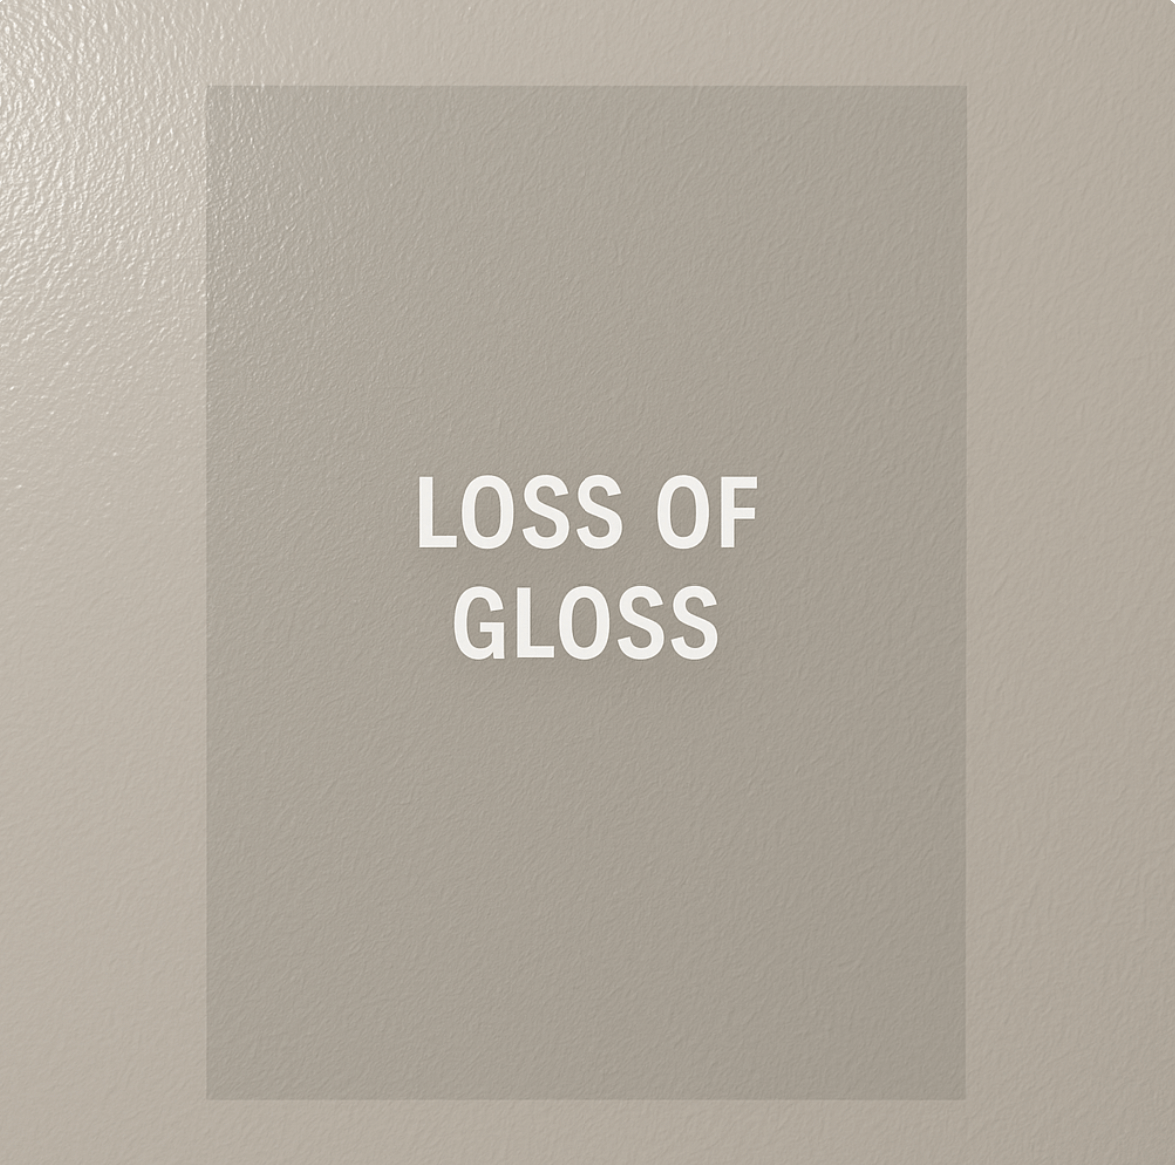
Loss of gloss may be due to applying paint in unsuitable weather conditions such as frost, fog, high humidity, or could be as aresult of the presence of grease or wax, or when paint was applied over an unsealed or unprimed porous surface. Overthinning the paint can also cause loss of gloss.
How it Looks
- Painted surfaces appear less shiny or reflective.
- Finish may look patchy, uneven, or flat compared to when first applied.
- Often most noticeable in areas exposed to sunlight, weather, or frequent cleaning.
Causes:
- Weathering and UV exposure – sunlight breaks down the binder, dulling the surface.
- Moisture and humidity – can soften or degrade the paint film.
- Poor-quality paint – low binder levels lead to poor gloss retention.
- Over-thinning or poor application – leaves too little binder for a glossy surface.
- Surface contamination – dirt, dust, or alkali attack (on masonry) dulls the finish.
- Abrasion/cleaning – frequent scrubbing or wear reduces sheen.
How to fix paint loss of gloss
You’ll need
Bucket & sponge • Sugar soap/mild detergent (or TSP substitute) • Clean water • Soft nylon scourer • Microfibre cloths • 320–400 grit sandpaper • Tack cloth • Primer (see Step 6) • Quality topcoat with good gloss retention • Caulk/sealant (as needed) • PPE (gloves, goggles, mask)
Step 1 – Diagnose the cause (1–2 quick tests)
- Clean-wipe test: Wet a cloth with mild detergent and rub a small area.
- Sheen returns → contamination/film build-up.
- No change → likely chalking/UV, abrasion, or application issue.
- Chalk test (exterior/masonry): Rub a dark cloth across the paint.
- White powder transfers → chalking/UV degradation.
- Patchy sheen from touch-ups? → flashing (application/film-build variation).
Step 2 – Thorough clean & reassess
- Wash with sugar soap/detergent, rinse well, let dry.
- For kitchens/smoke: degrease; for bathrooms: remove soap residues.
- If the gloss is restored, stop here and move to Step 9 (protection).
Step 3 – If still dull: identify the pathway
Choose the scenario that fits and follow its steps.
- A) Chalking / UV weathering (common outside)
- Scrub with detergent and a nylon brush until little/no chalk transfers.
- Rinse thoroughly; allow to dry.
- Prime with a binder/primer for chalky/porous surfaces.
- Topcoat with 2 thin coats of a quality exterior acrylic (good UV/gloss retention).
- B) Abrasion / burnishing (high-traffic rub marks)
- Clean as above; dry.
- Lightly sand (320–400 grit) just enough to smooth.
- Spot-prime any burn-throughs.
- Repaint the whole panel/wall to a natural break to avoid flashing.
- C) Application/film-build issues (over-thinned, over-rolled, patchy)
- Light sand (320–400) and dust off.
- Prime with an undercoat/bonding primer for uniform porosity.
- Apply additional full coats at the specified spread rate; maintain a wet edge; avoid over-rolling.
- D) Alkali/efflorescence dulling on masonry
- Fix moisture sources; remove salts (brush, then mild acid wash if appropriate) and neutralise; allow to dry.
- Prime with an alkali-resistant masonry sealer.
- Repaint with a breathable acrylic topcoat.
(If salts keep returning, treat as an efflorescence problem first.)
- E) Contamination (silicones, polishes, aerosol overspray)
- Wash with strong detergent/degreaser; rinse well.
- De-gloss by light sanding; wipe clean.
- Prime with a bonding/stain-blocking primer; recoat.
Step 4 – Surface prep (for any repaint)
- Feather any rough spots; remove dust with a tack cloth.
- Re-caulk gaps and joints where water/dirt might enter.
Step 5 – Prime appropriately
- Chalky/porous: penetrating sealer/binder.
- Masonry/alkali: alkali-resistant primer.
- General intercoat adhesion/uniformity: acrylic primer-sealer/undercoat.
- Stains/smoke/tannin: stain-blocking primer.
Step 6 – Repaint for durable gloss
- Two thin, even coats; follow recoat times.
- Ideal conditions: 10–30 °C, RH < 85%, shaded surface; avoid hot sun/wind.
- Use high-quality paint rated for gloss retention (exterior) or washability/scrub resistance (interior).
Step 7 – Cure & maintain
- Allow 7 days before wet cleaning.
- Clean with mild detergent only; avoid abrasives/harsh chemicals.
Step 8 – Prevent recurrence
- Choose harder, more washable finishes in high-touch areas.
- Avoid future spot touch-ups—recoat full sections to prevent flashing.
- Control moisture/UV exposure where possible (ventilation, shading).


