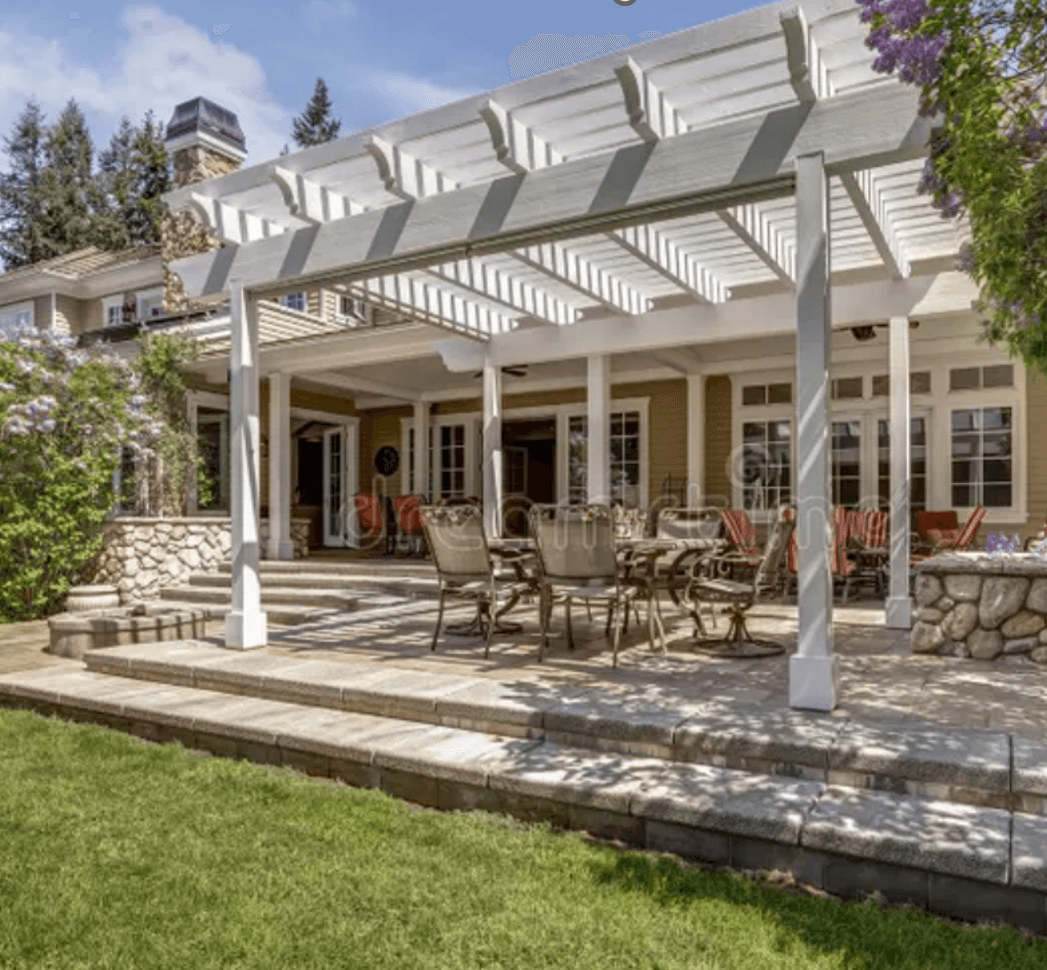
In Australia, exterior timber takes a beating. From harsh sun to heavy rain, the weather can quickly cause timber fascia boards and pergolas to fade, crack, or grow mould. Left untreated, the wood can deteriorate, shortening the life of these important structures.
A fresh coat of paint not only makes them look great but also provides vital protection from the elements, keeping your timber protected and lasting much longer.
Step 1: Clean and Repair
Begin with a thorough clean to remove dirt, dust, cobwebs, and mould.
- Hose down the timber to wash away surface grime.
- Wash clean with a mild detergent or a dedicated exterior cleaner. For mould or mildew, use a proprietary mould cleaner and rinse clean.
- Check for any cracks, loose nails, rot, or damaged sections. Repair or replace affected timber before moving on.
Allow the surface to dry completely before the next step.
Step 2: Prep and Sand
- Scrape away any blistering, peeling or flaking paint with a scraper.
- Sand rough or weathered areas to smooth and create a key that will help the newly applied paint to stick.
- Use a brush or cloth to remove sanding dust.
- Surfaces should be clean and dry before paint is applied.
Tip: Pay extra attention to fascia edges and pergola joints where water often collects.
Step 3: Check the Weather
The right conditions are critical for outdoor painting. Avoid painting in extreme heat, high humidity, or when rain is forecast. Ideally, choose a dry day with mild temperatures and humidity below 50%. During winter and the cooler months of the year, never paint when the temperature is below 10 Degrees Celsius. Usually, this means waiting until mid-morning to begin painting and finishing by 3:00 pm at the latest.
Step 4: Select Your Paint
Remember, you get what you pay for, and this is very true for exterior paint. For lasting results, use a premium exterior paint designed for the harsh Australian conditions. High-quality exterior paints provide strong UV protection and a durable finish that withstands rain, sun, and wind.
Choose a sheen that suits your home’s style:
- Low sheen – subtle, hides imperfections
- Semi-gloss – durable, easy to clean
- Gloss – striking finish, highlights features
Step 5: Prime
In terms of long-term protection of the substrate being painted, the claims made by paint manufacturers are usually based on the film thickness of three coats. Apply a quality exterior primer to seal any bare areas of the timber before top coating. Some specialist exterior acrylic paints do not require a primer. If using one of these products, it’s advisable to touch up any bare timber first with the paint, before giving the substrate another two full coats.
- Start at the underside of fascia boards or the lower beams of pergolas.
- Work methodically so all sides are coated.
- Allow primer or first coat to dry thoroughly before moving on, usually two (2) hours.
Step 6: Paint
- Stir your paint well before use.
- Apply the first coat with a brush or roller, working with the grain of the timber. For pergolas, use smaller brushes for corners and joints.
- Allow to dry, then apply a second coat for full coverage and protection.
Once complete, let the paint cure in dry, ventilated conditions. Within a few days, your fascia and pergolas will not only look refreshed but also be shielded from the elements.
Extra Tips
- Use drop sheets to protect concrete, brickwork, roofing, or garden areas.
- In warmer months, do not work in direct sun as you may end up with join lines between sections.
- Working in sections will help ensure paint edges stay wet and blend smoothly.
- During the warmer months, start early, and follow the shade where you can.
- Wash structures periodically with mild soap and water, then rinse clean. This will prolong the life of your paintwork.