Ready to refresh your home? With the right plan, prep, and products, painting can be fun—and the results can look truly professional. Here’s how to get started:
- Every great makeover starts with a vision.
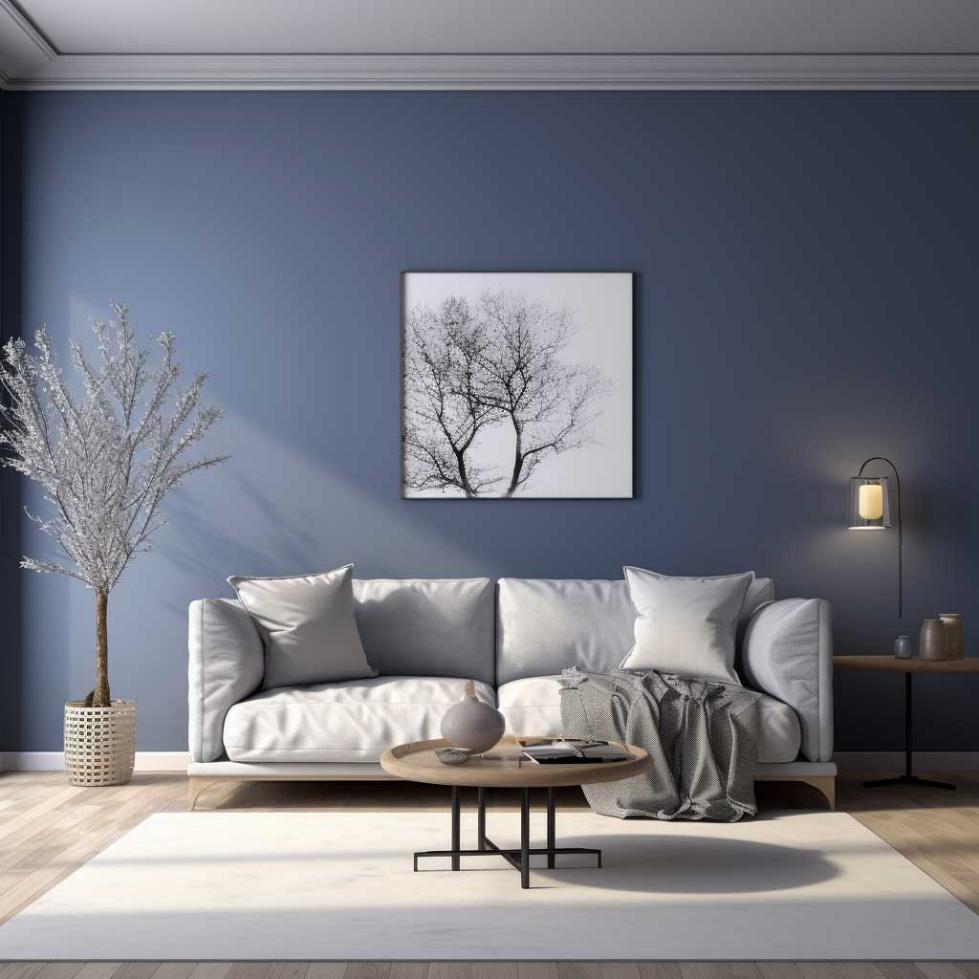
- How will this room be used?
- Is it filled with natural light, or more cozy and shaded?
- Do you want a bold statement colour or a soft, neutral backdrop?
- Pick a time to paint, create s shopping list and budget
- Pick Your Perfect Paint
The right finish makes all the difference:
- Matt Finish (0-5% gloss): Great for hiding imperfections on walls such as lumps, bumps and repaired cracks.
- Low Sheen (5-10% gloss): The contemporary low sheen finish which is used on most interior living room walls. Durable and easy to clean.
- Semi-Gloss: Ideal for doors, trims, cabinets, and high-traffic areas. Adds a subtle shine that wipes clean in seconds.
- Gloss Finish: A bold, high-shine finish that’s tough and super easy to clean. Best for door and trim and areas that need extra durability.
- Preparation is everything
A little effort to begin with means a flawless finish later.
- Clear out furniture and fittings.
- Mask tricky edges with painter’s tape.
- Wash walls with soapy water and let them dry. Put down drop sheets to protect floor coverings
- Fill gaps, sand smooth, and dust down.
- Spot seal repaired substrates according to the manufacturer's instructions
Now you’ve got the perfect blank canvas.
- Tips for a Professional Finish
Even if you’re new to painting, these steps will help you achieve a flawless look:
- Work top to bottom: Start with the ceiling, cornices and edges where the wall meets the ceiling. Next, move on to the walls, then paint the doors and window frames last. When painting broad wall areas, always work from the wall opposite the main window towards the light to avoid shadows.
- Cut in first: Use a quality synthetic brush to paint edges and corners before rolling the larger wall areas.
- One wall at a time: Avoid painting too large an area at once—this prevents overlap marks and streaks. Apply paint to broad wall areas using a large W pattern (lay on).
- Finish smooth: When the paint has been applied and is still wet, go back over (lay off) the surface with long, even straight strokes, slightly overlapping to level out the paint and create a consistent finish.
- Tackle trims last: Paint skirting boards, doors, and window frames with a quality synthetic brush for neat edges.
- Seal the Deal (and the Paint)
Once the job’s done, store leftover paint properly—it’ll come in handy for touch-ups later.
- Place plastic wrap over the opening before sealing.
- Tap the lid on securely and store in a cool, dry place out of sunlight.
Empty cans? Let the paint dry out, then recycle where possible.
With the right plan, prep, and paint, you’ll not only change the look of your space—you’ll transform the way it feels.