A freshly painted ceiling can completely lift a room. Ceilings often show up shadows, stains, or old paint marks, so taking the time to do it correctly makes a big difference. Here’s how you can get a smooth, professional finish at home.
Step 1: Preparation
Good preparation saves you time and gives a better finish.
- Clear and cover: Move furniture out of the way or cover it with drop sheets. Tape plastic around light fittings and vents.
- Remove: Any loose or flaking paint with a flat, sturdy scraper.
- Fill and repair: Use an appropriate filler to patch any cracks, dents, or nail holes. Once dry, lightly sand the surface with fine sandpaper to achieve a smooth and even feel.
- Clean: Wipe the ceiling down with sugar soap and a sponge to remove dirt, grease, or cobwebs. Rinse with clean water. Let it dry fully.
- Tape edges: Use painter’s tape along cornices, walls, and trims to keep paint neat.
Step 2: Cut in the Edges
Cutting in means painting the areas a roller can’t reach.
- Dip a quality synthetic brush into the paint (take care not to overload it).
- Carefully paint around edges, corners, cornices, and light fittings.
- Work in sections—this keeps the paint wet so your roller can blend in smoothly and avoids “picture framing” lines.
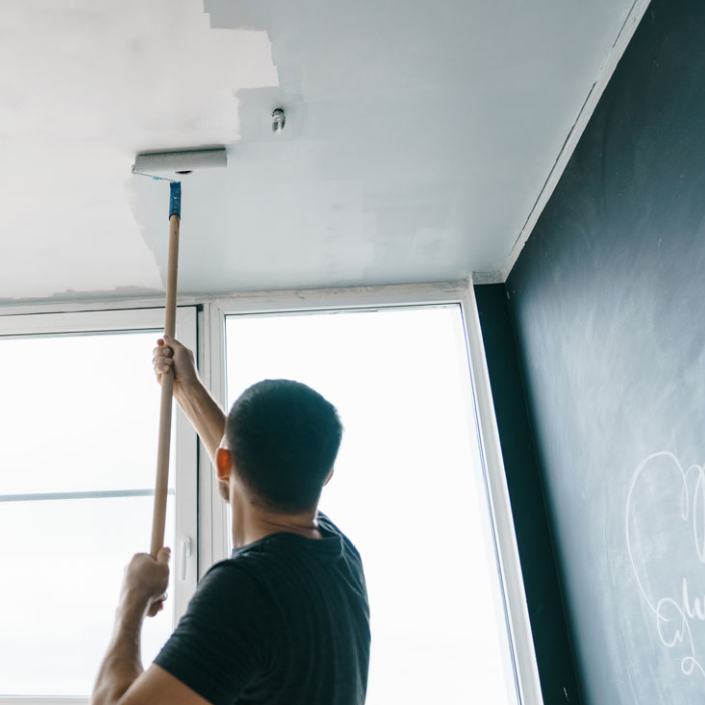
Step 3: Roll the Paint
Rolling covers the large flat areas.
- Choose the right roller: For ceilings, a medium nap roller (10–18mm) about 270mm wide is ideal.
- Load properly: Dip the roller into the tray, roll back and forth to spread the paint evenly.
- Start in a corner: Work in 1m x 1m sections, rolling in straight overlapping lines.
- Keep a wet edge: Work steadily so paint doesn’t dry before you overlap it. This prevents patchy lines.
Tip: A quality good roller should hold enough paint without dripping. If the roller is fluffy or leaves fibres on the ceiling, it’s time to replace it with a new one.
Step 4: Lay Off for a Flawless Finish
Laying off is a light finishing touch that levels out the paint.
- While the paint is still damp, take an unloaded roller.
- Starting in the top corner at a right angle to the direction of the initial paint roller application, gently pull the roller in straight lines with little pressure. Always try to roll towards the light source when laying off, as this will help to minimise roller marks.
- Overlap slightly with each stroke to remove roller lines.
- This leaves the paint even and streak-free.
Tip: Paint should sound wet and sticky even when laying off to achieve a flawless finish.
Step 5: Drying and Second Coat
- Allow the first coat to dry completely before applying a second. Depending on humidity, this is usually two (2) hours for water-based paints.
- Two thin coats are better than one thick coat, resulting in a more uniform finish with a reduced chance of mudcracking.
- Once finished, carefully remove painter’s tape before the paint fully hardens to avoid peeling.
Tools & Products You’ll Need
- Ceiling paint appropriate to the area being painted (living, kitchen or bathroom)
- Quality synthetic brush (for cutting in)
- Medium nap roller (10–18mm), roller tray, and frame
- Extension pole for easier reach
- Drop sheets and/or plastic covers
- Filler, sandpaper, and sugar soap
With patience and the right tools, you’ll end up with a bright, smooth ceiling that really lifts the whole room.